table of contents
You’ve got a solid domain setup. Traffic flows. Emails deliver. But attackers scan DNS records daily. One forgotten entry can reveal your staging server or hand over a subdomain.
DNS records list every public pointer to your infrastructure. They show subdomains, mail servers, and verification strings. Reviewing DNS records uncovers what you expose without realizing it.
This guide walks you through the process. You’ll spot risks like dangling CNAMEs and chatty SPF entries. Then fix them before trouble starts.
Why DNS Records Matter in Security
DNS acts as your domain’s public directory. It tells the world where to find services. Most teams add records for new apps or vendors. They forget to clean up later.
Old entries linger. A decommissioned dev site points to nothing. Or a TXT record from a dropped email tool spills vendor details. Attackers use these to map your attack surface.
For example, public DNS queries anyone can run. Tools pull every A, CNAME, and MX record. Exposed staging hosts invite probes. Inherited TXT records name forgotten partners.

Review them quarterly. Automation helps with alerts. Manual checks catch nuances. Start with your registrar or DNS provider console. Export the zone file if possible.
Common oversights include mail misconfigs. Open MX points let spammers relay. Overly broad SPF includes old IPs. These don’t just fail emails. They signal active services.
Nameservers matter too. Mismatched ones hint at hijacks. Cross-check against your registrar. Small slips add up to big exposures.
Spot Common Risks in Your DNS Records
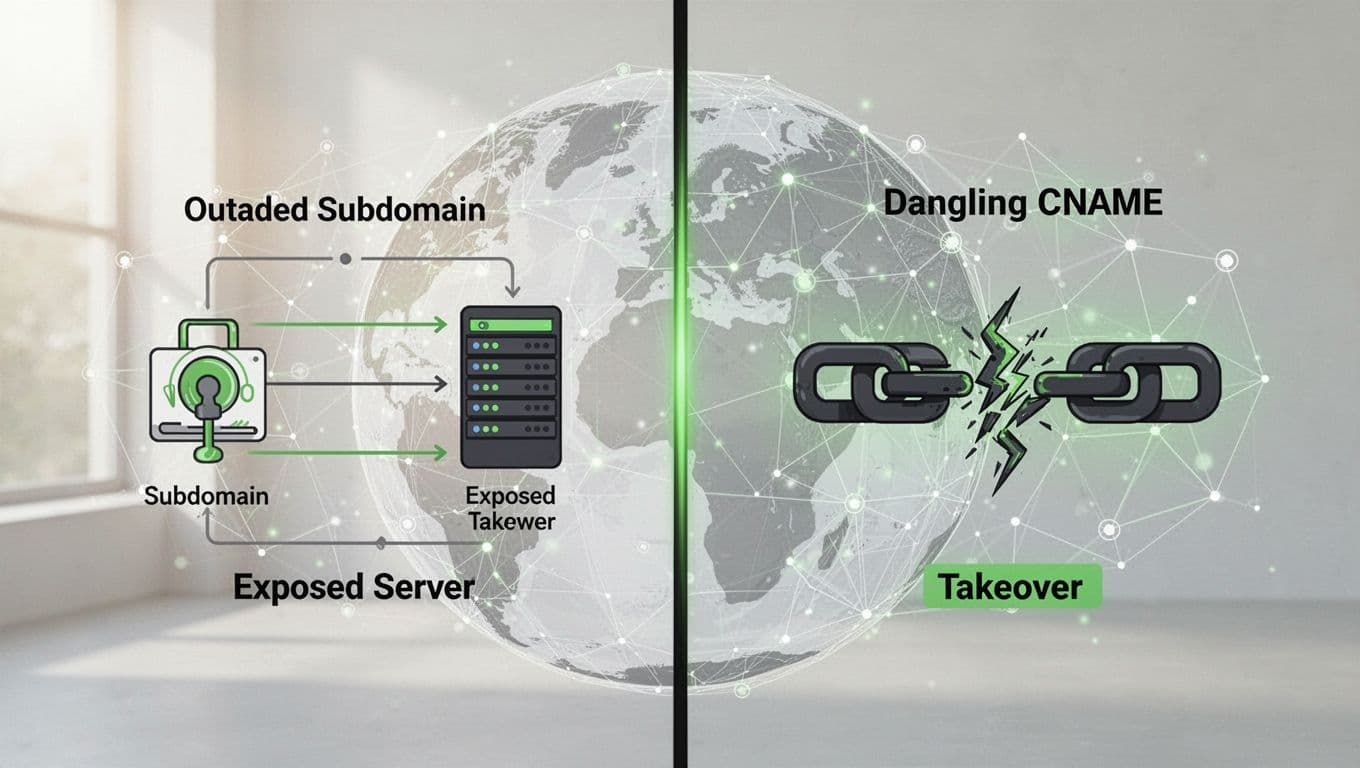
Focus on patterns attackers love. Outdated subdomains top the list. An A record to a dead IP? Useless but harmless until someone reclaims that address.
Dangling CNAMEs pose real threats. They point to unclaimed services like old Heroku apps. Attackers claim the target and control your subdomain.
See OWASP’s guide on subdomain takeover for details. It covers A, MX, and NS risks too.
Exposed environments hurt next. “Staging.example.com” with live data? Probes follow. Dev hosts often run weak auth.
TXT records reveal more. Leftover SPF entries list ex-vendors. Chatty ones include every IP range. Tighten to current senders only.
Check Red Sift’s SPF fixes for syntax traps. Multiple records cause perm errors. Long ones split badly.
MX misconfigs open relays. Old entries to dropped hosts let spam flow. Verify priorities match your provider.
Prioritize by impact. Subdomain takeovers first. Then exposed hosts. Cleanup inherited TXT last.
Tools to Audit DNS Records Quickly
Don’t rely on console views alone. Free tools query public resolvers. They flag issues fast.
Try the DNS Record Auditor from ReleaseRun. Enter your domain. It grades A-F on SPF, DMARC, DNSSEC, and more. Color-coded breakdowns guide fixes.
Domain Monitor offers step audits. It spots CNAMEs to NXDOMAIN responses. High-priority alerts for nameserver drifts.
Paid options like DNS Inspector track changes. Real-time diffs catch drifts. Good for teams.
Manual digs work too. Use dig example.com ANY at command line. Pipe to grep for types. Script repeats for subdomains.
Combine tools. Run automated scans weekly. Manual review monthly. This catches what bots miss.
Your DNS Audit Checklist
Follow these steps each time. Block out an hour. Grab coffee.
- List all records. Export zone or query ANY. Note types: A, CNAME, MX, TXT, NS.
- Verify A/AAAA. Do they point to owned IPs? Resolve and ping. Remove dead ones.
- Check CNAMEs. Resolve targets. NXDOMAIN or unowned? Delete now. Test for takeover.
- Scan MX. Match your provider? No duplicates. Priorities correct?
- Review TXT. SPF tight? One record max. Remove old includes. DMARC present?
- Inspect NS. Match registrar? No surprises.
- Hunt subdomains. Use tools like crt.sh or dnsdumpster. Repeat audit on each.
- Test TTLs. Low for changes, higher for steady.
Document findings. Screenshot before/after.
Remediate Findings and Set Priorities
Act fast on criticals. Dangling CNAMEs get deleted first. Add change approval to prevent repeats.
For exposed hosts, migrate or firewall. Point staging to localhost if possible.
Tighten SPF. List exact IPs or includes. End with -all. Test with mail-tester.com.
Old TXT? Purge. Keep only active verifiers.
Prioritize like this:
| Risk Type | Priority | Fix Time |
|---|---|---|
| Dangling CNAME | Critical | Minutes |
| Exposed staging | High | Hours |
| Loose SPF | Medium | Day |
| Inherited TXT | Low | Week |
Automation shines here. Managed DNS like Cloudflare flags drifts. Integrate with CI/CD.
Review quarterly. Tie to change windows. For complex setups, book a discovery call with Bud Consulting. They handle attack surface mapping.
Key Takeaways
DNS records build up quietly. Regular reviews keep exposures low. Focus on CNAMEs and TXT first for quick wins.
You’ve got the checklist now. Run it today. Your infrastructure stays hidden from casual scans.
Small audits prevent big breaches. Make it routine.